
Real Print
Custom Tents
A custom tent gives your team a recognizable, weather-conscious space for meeting people, displaying products, serving samples, or hosting activities.
A canopy does two jobs at once: it marks where your team is, and it gives people a comfortable reason to stop walking. Getting that right is mostly planning — the permitted footprint, which surfaces carry the artwork, and how the whole thing is anchored and packed — rather than picking a graphic at the last minute.
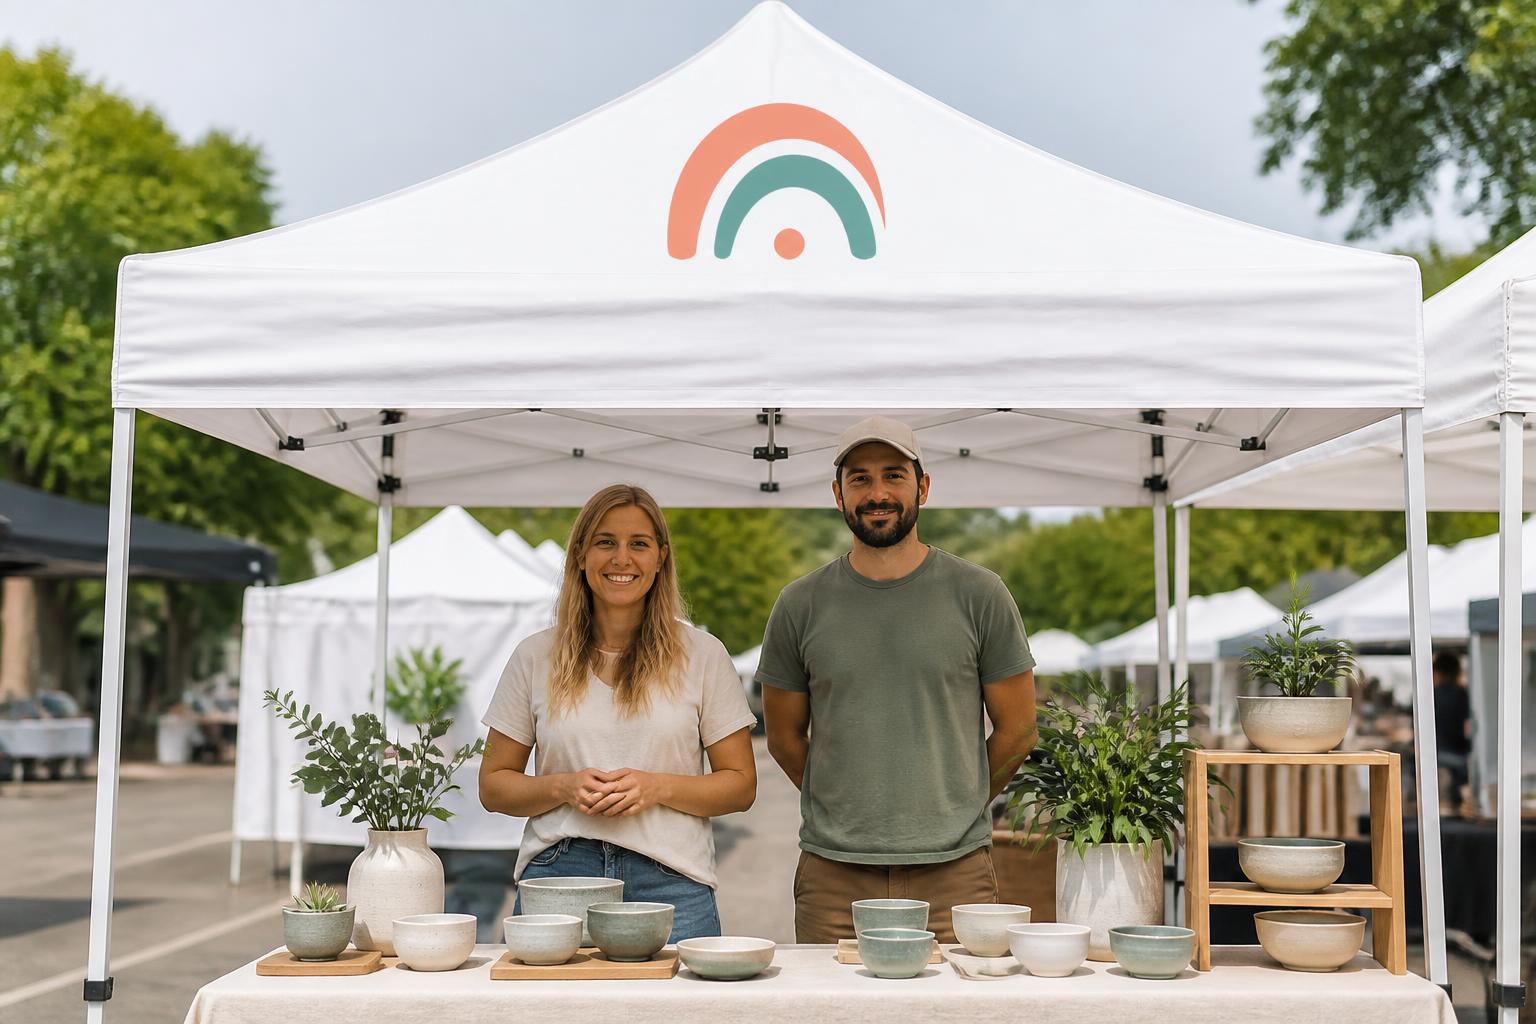
How buyers use this format
Market booth
Create a recognizable event home base. Visitors should be able to pick your space out from across an aisle before they can read anything printed on it.
Community activation
Give visitors a clear place to gather. Open sides and a defined footprint make it obvious where to stand, ask a question, or wait a moment.
Outdoor team hub
Organize a mobile branded presence. Staff, samples, and supplies stay in one spot, and the canopy marks the meeting point for the whole crew.
Mobile event setup
Plan a repeatable display for recurring appearances. The same frame, panels, and packing order make each new location faster than the last.
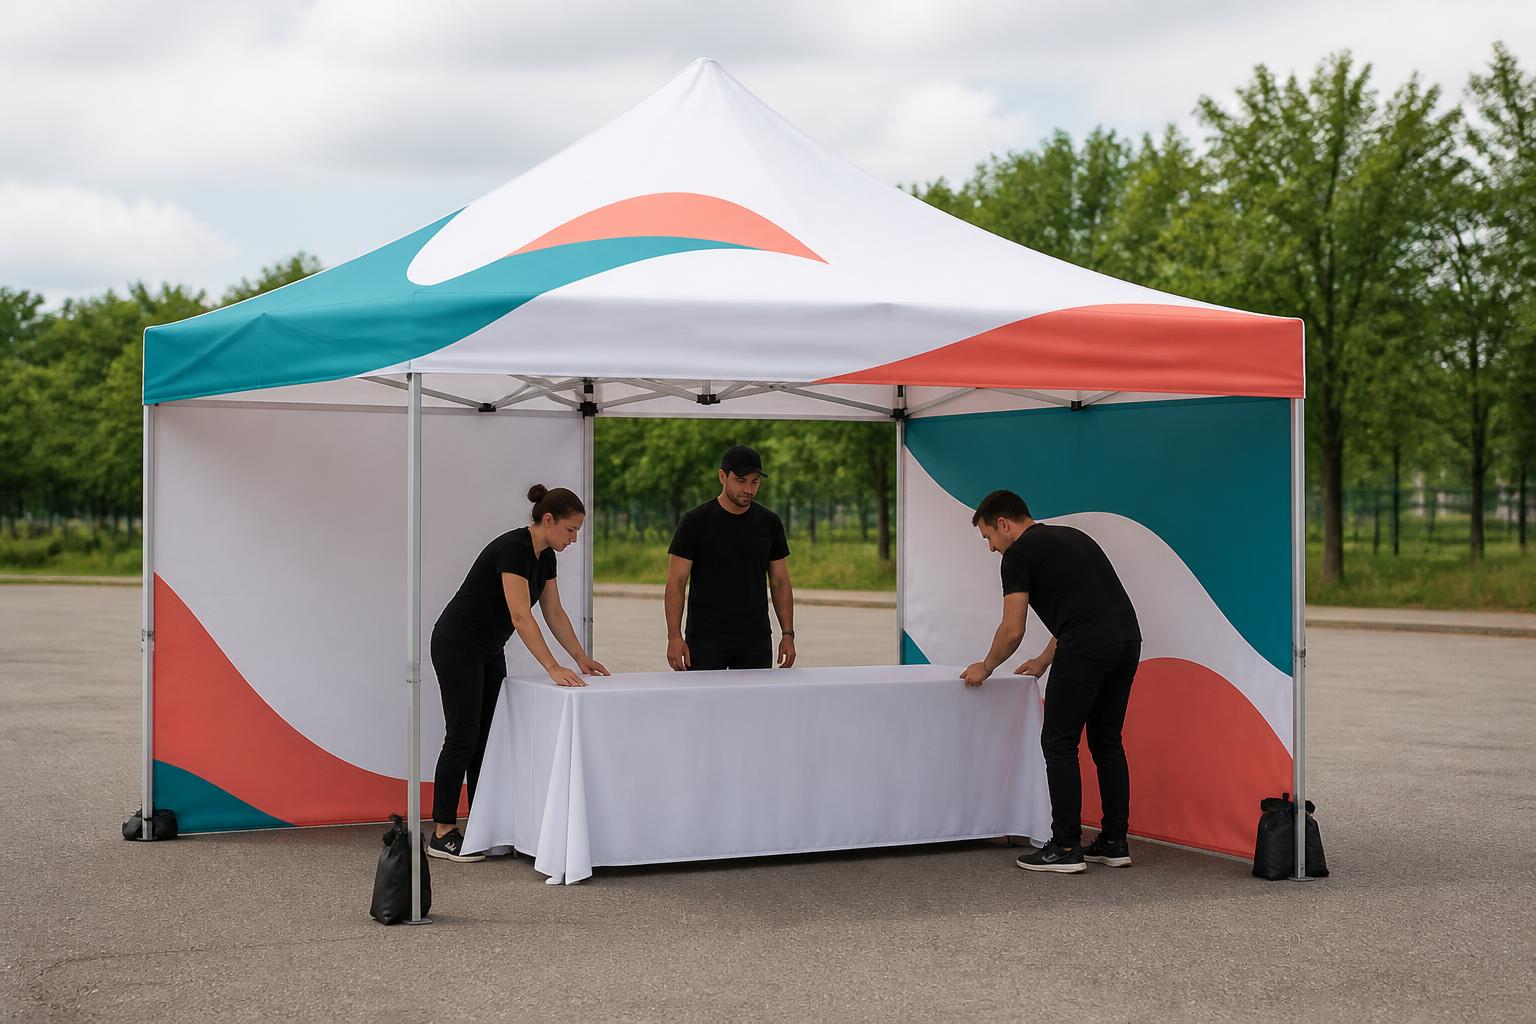
Plan the booth before the artwork
Start with the space you have actually been given. Confirm the permitted footprint, the clearance around it, the surface underfoot, and the access path from parking or load-in. Then measure what has to fit inside that footprint: the frame, anchors, any walls, the table, your products, staff, and room for visitors to stand without blocking the aisle. Designing before measuring is the most expensive mistake on this format.
Give each surface one job
People usually see a tent from below, from across an aisle, or at an angle. The roof peak and upper walls do the distance work; valances handle near-range identification; a back wall is the anchor for conversations and photos. Put the primary mark where it stays visible once tables, displays, and staff occupy the interior, and let a handout, screen, or conversation carry the detail instead of crowding small copy onto the roof.
Respect seams, folds, and safe areas
Keep critical text away from corners, seams, hook-and-loop attachment zones, and anywhere the fabric folds sharply. Do not place a phone number or URL where a wall panel will sit behind a table. Where a graphic wraps a corner, leave safe space around the fold so the logo does not read as broken. Use the correct panel template for each piece, preserve bleed where specified, and confirm that artwork orientation matches the installed position.
Prepare files that survive enlargement
Vector artwork is best for logos, type, and simple illustrations because it stays crisp at any size. Raster photography should be built for the final print dimensions and inspected at full size, not zoomed in on screen. Convert fonts to outlines where appropriate, embed or package linked images, and name each panel clearly. A preflight pass should confirm dimensions, color mode, transparency, bleed, spelling, and intended front/back orientation.
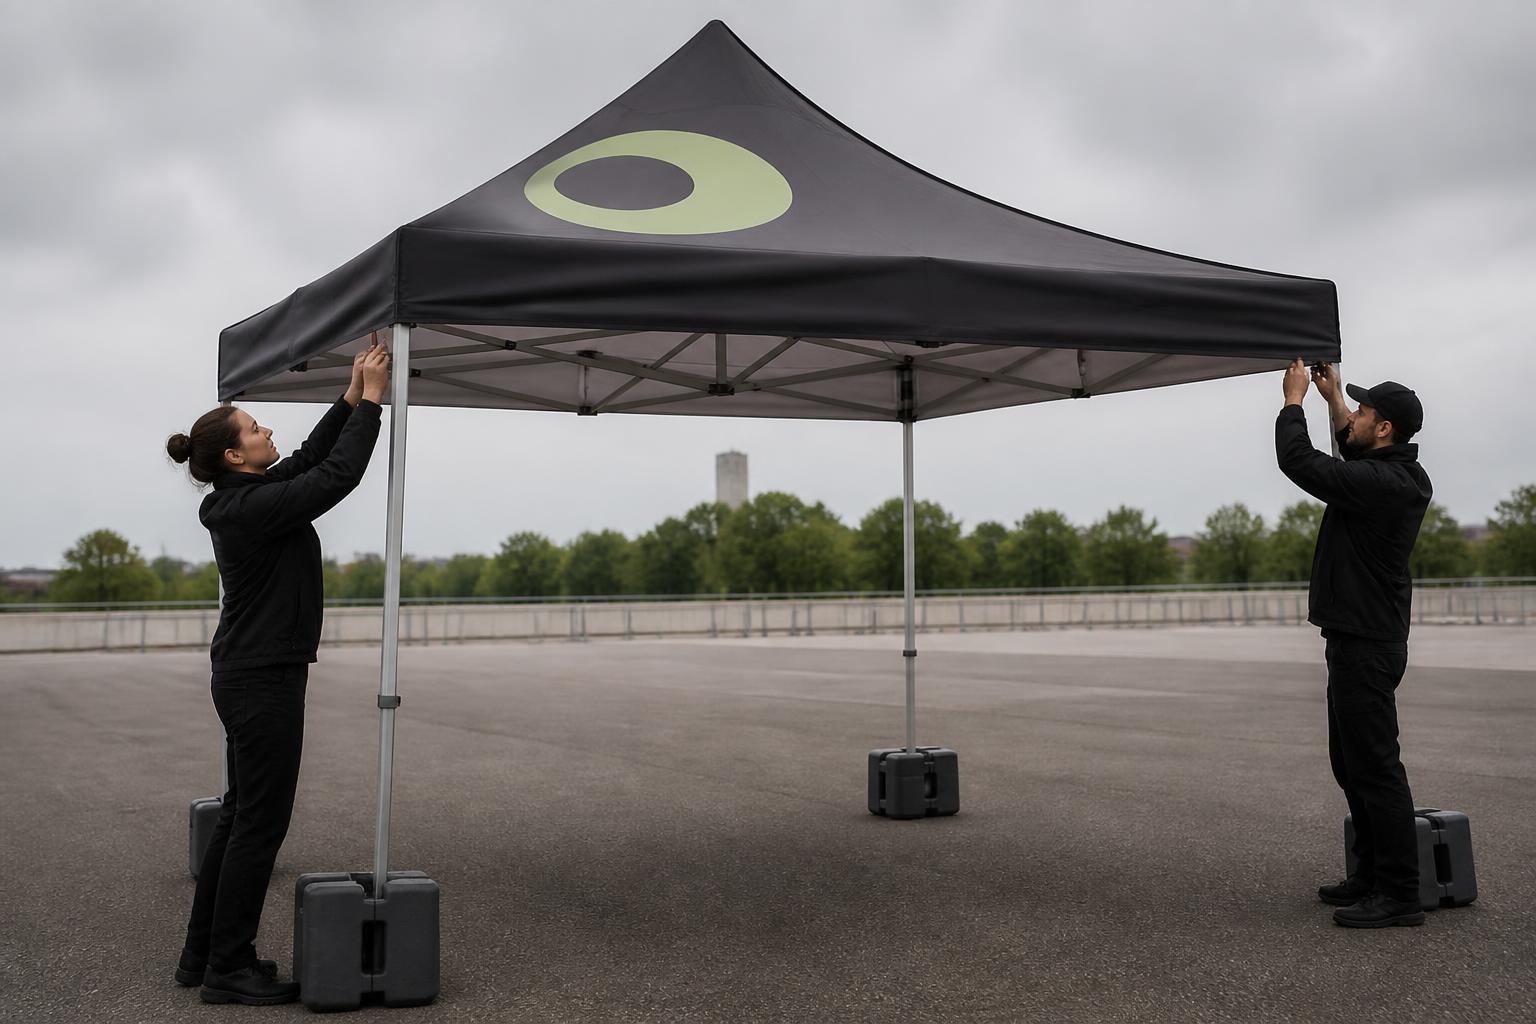
Make setup and care part of the plan
Set up on a level, unobstructed surface with enough room to expand the frame. Two people coordinating is safer and faster than one person forcing a partially folded structure. Follow the frame's locking sequence, attach the roof while the frame is partly open if the design calls for it, and raise the legs evenly so the canopy stays balanced. Keep fingers clear of hinges and sliders, and never pull on printed fabric to move a metal joint.
Anchor every leg, even when the forecast looks calm. Stakes work only where the surface allows them; on pavement or other hard ground use a suitable weight system seated at the legs rather than dangling from a decorative strap. Keep guy lines visible and out of walking paths. A canopy is a wind-catching surface — this guidance is about sensible handling, not a promise of weather performance, so lower or remove it when conditions look like more than your setup can take.
A short check before you open
Confirm that every leg is locked, the roof is evenly tensioned, walls are attached in the intended order, and no anchor or line can trip a visitor. At closing, remove products and accessories first, lower the frame with help, and pack fabric only once it is clean and fully dry.
Care between events
Damp fabric folded into a case is how good graphics go bad. Let panels dry completely, remove loose dirt gently, and follow the fabric maker's care directions for anything beyond that. Store the frame and panels away from sharp edges, and keep the artwork files and panel names with the kit so a future replacement can be matched to what you already own.
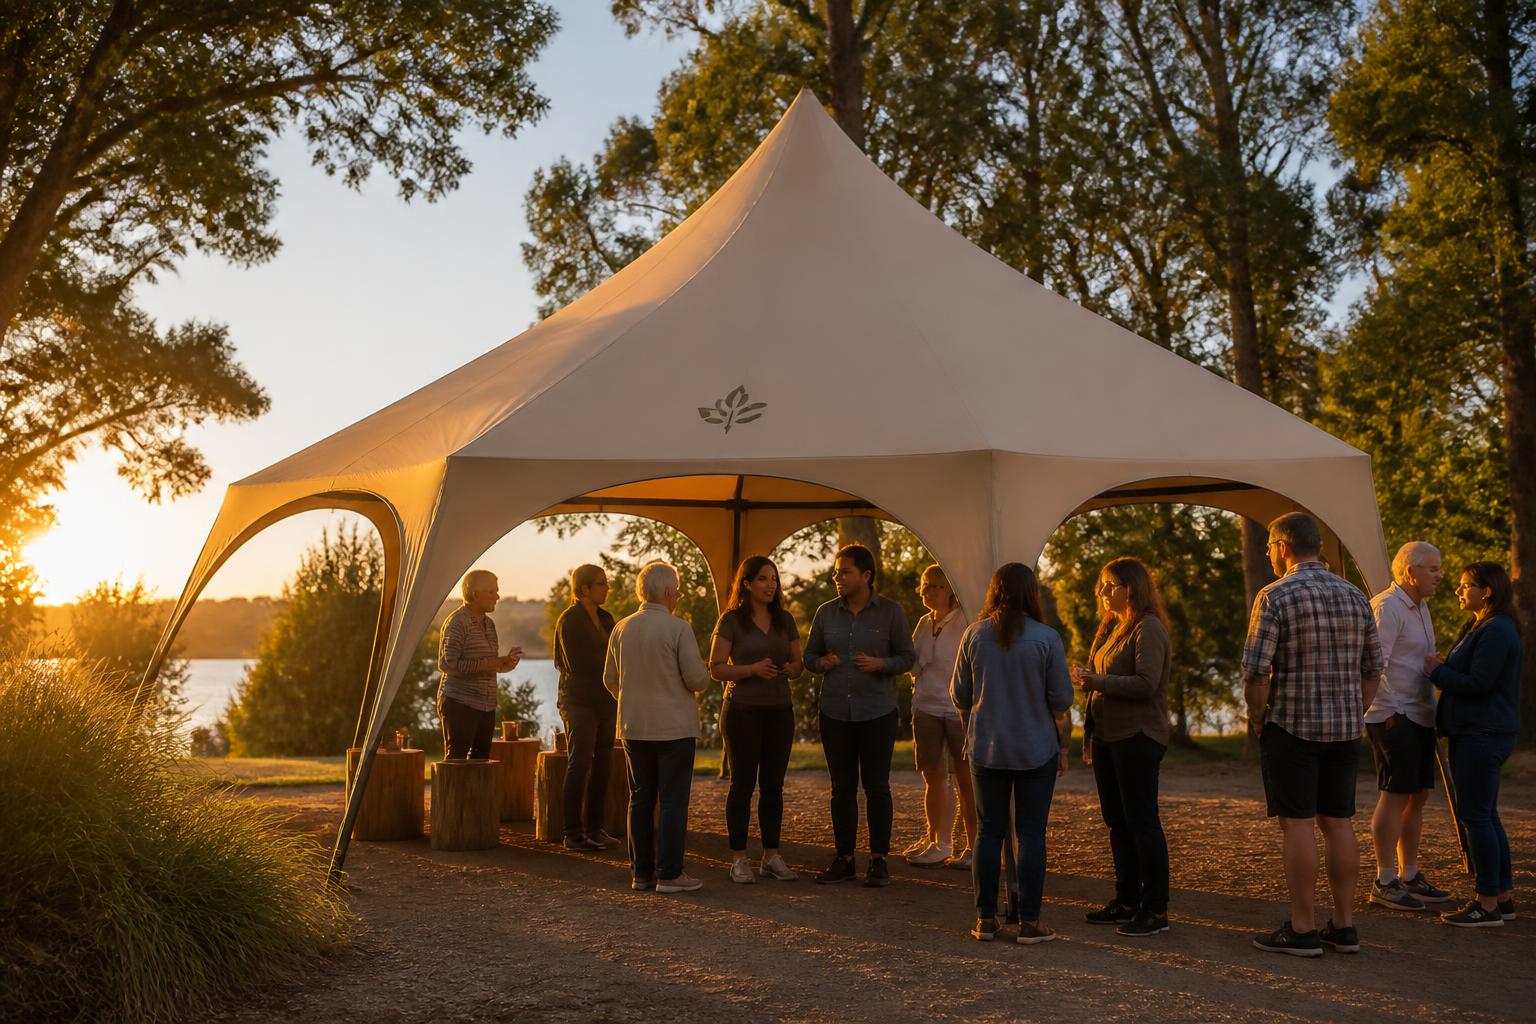
The booth is a place, not just a graphic
By late afternoon the canopy is doing something different: it is shade, a meeting point, and the thing people describe when they tell someone else where to find you. Plan the interior with that in mind — a clear entry, room to stand out of the sun, and staff positioned where they can greet rather than guard the table.
Choosing the layout that fits the event
These are planning considerations, not a list of included features. Choose from the options actually presented in the product configuration, and confirm venue rules, permitted footprint, and support or anchoring needs with the venue and the production team before you commit.
Roof-only, open on all sides
Best when access and sightlines matter more than backdrop: sampling, quick conversations, busy aisles, and spaces where visitors approach from several directions.
A more enclosed event layout
A back wall or sidewalls create a defined backdrop, calmer conversation area, and controlled entry. They also increase the surface exposed to wind, so the anchoring plan has to grow with them. If walls are offered for your selected configuration, plan the artwork per panel.
Indoor planning
Check ceiling clearance, loading access, sprinkler and egress rules, and whether the venue permits weights or anchors at all. Weather stops being the variable; the venue's display guidelines take its place.
Outdoor planning
Match the anchoring method to the actual surface, plan for sun direction across the day, and agree in advance on who decides to lower the canopy if conditions change. Confirm what the event organizer requires before arriving.
Select the right display format
General planning guidance for comparing common event display approaches. It is not a catalog of available alternatives and not a set of product promises — check the product configuration for what is actually offered.
| Display format | Best fit | Main advantage | Trade-off to consider |
|---|---|---|---|
| Custom pop-up tent | Markets, outdoor promotions, team events, mobile brand activations | Combines overhead shade with a large branded presence | Requires anchoring, storage space, and a two-person setup habit |
| Printed back wall with table display | Indoor booths, presentations, compact vendor spaces | Fast visual impact with a smaller footprint | Offers little overhead coverage or weather protection |
| Inflatable branded tent | High-visibility activations where a sculptural form is useful | Distinctive silhouette and potentially quick inflation | Needs an air source and has different packing and repair considerations |
| Modular pipe-and-drape or fabric booth | Indoor trade-show environments with planned layouts | Clean room-like enclosure and configurable panels | Less convenient for repeated outdoor use and ground anchoring |
| Unprinted stock canopy | Occasional shade where branding is not important | Simple, flexible shelter for basic use | Weakens visual recognition and may not support a coordinated brand system |
Before the event
Work through these six areas in order. Most day-of problems trace back to something on this list that was assumed rather than checked.
Venue and footprint
- Confirm the assigned footprint, clearance rules, and any venue display guidelines.
- Measure the space needed for the frame, anchors, walls, table, products, and a customer queue.
Surfaces and access
- Check the ground surface: grass, pavement, gravel, or indoor flooring each change the anchoring plan.
- Walk the load-in path and note gates, stairs, distance from parking, and time limits.
Display plan
- Decide which sides call for a roof-only treatment, a back wall, a half wall, or a full wall.
- Sketch where staff stand, where visitors enter, and what the first thing they see should be.
Artwork and template preflight
- Gather vector logos, approved colors, high-resolution images, and final copy.
- Review panel templates for orientation, safe areas, seams, bleed, and attachment points.
- Check every word, URL, phone number, and social handle at actual viewing size.
Support and anchoring
- Plan an anchor for every leg, matched to the surface you will actually be standing on.
- Assign one person to inspect locks and anchors before the first visitor arrives.
Transport and setup
- Pack the frame, roof, walls, anchors, tools, gloves, and carrying case together.
- Assign at least two people to setup and teardown, and rehearse the sequence once.
- Plan how the tent will be transported, dried, stored, and protected from sharp objects.
- Check the event's current site instructions and the weather before leaving.
Common mistakes
Designing before measuring tops the list: artwork can look excellent in a proof and still fail when a wall ends up behind a table or the footprint leaves no room for anchors. Close behind it are too much small copy on the roof, a single central weight standing in for four leg anchors, packing damp fabric, and arriving with only one person to open the frame. None of these are expensive to avoid, and all of them are expensive to discover at the event.
Frequently asked questions
What can be customized on a tent?
Depending on the construction, customization can cover the roof, valances, back wall, sidewalls, frame color, and coordinated accessories, and the artwork can range from a small logo treatment to a full-surface design. Decide which surfaces need to communicate from far away and which are meant for people already standing inside the booth, then confirm the surfaces available in the current product configuration before designing to them.
Is a custom tent suitable for indoor events?
It can be, provided the venue allows the structure and its footprint. Indoor use removes weather from the equation but adds other checks: ceiling clearance, loading access, sprinkler or egress requirements, and rules about anchors or weights. Confirm the venue's display guidelines before finalizing anything.
Should I choose a roof only or add walls?
Roof only keeps access and sightlines open on all sides. A back wall gives you a branded backdrop and more visual presence. Sidewalls help with privacy, wind reduction, product protection, or controlled entry. Walls also increase the area exposed to wind, so anchoring matters even more. Whether walls are part of your order depends on the options shown in the product configuration.
What artwork format is best?
Vector files are preferred for logos, type, and line art. High-resolution raster files work for photographs or textured artwork when supplied at an appropriate final size. Use the correct panel template, keep important elements away from seams, and review the proof at full scale rather than judging from a small screen preview.
Can a tent protect products from rain?
A canopy provides overhead coverage, but treat that as shade and shelter rather than weatherproofing. Driving rain, splash, and runoff can still reach an open booth. Keep sensitive products in suitable containers, avoid creating pockets where water can collect, and lower the display when conditions turn.
How many people should set it up?
Two coordinated adults are a practical baseline for opening and lowering a folding frame. Larger or more enclosed configurations benefit from extra help, especially when walls, tables, products, and anchors all have to be handled at once. Do not trade safe handling for a rushed opening time.
How should I anchor the tent on pavement?
Use purpose-designed weights attached at each leg and positioned so they cannot roll, swing, or become a trip hazard. Do not rely on the table, product boxes, or a single central weight. Follow the frame and anchor manufacturer's guidance, and take the canopy down if conditions exceed what your setup can safely handle.
How do I clean the printed fabric?
Start with the fabric maker's care directions. In general: remove loose dirt gently, use mild soap and water where appropriate, rinse without aggressive pressure, and let the panels dry completely before folding. Avoid harsh solvents, abrasive brushes, and storage against rough or sharp surfaces.
Can I replace only a wall or roof later?
Many tent systems use separable roof and wall panels, but compatibility depends on the frame, attachment method, dimensions, and graphic layout. Keep the original artwork files, panel names, and orientation notes so a replacement can be prepared consistently, and measure the existing component rather than relying on memory. Confirm replacement options with the production team.
What should I bring to the first event?
The complete frame and fabric set, every required anchor, a carrying case, protective gloves, cleaning supplies, and any tools specified for the system. Add backup fasteners, cable management, lighting if permitted, and a short printed setup sequence. A quick rehearsal beforehand tends to reveal missing parts while there is still time to fix it.
Related products
With the footprint measured and the panels planned, the rest is straightforward.
Back to product details