

Banners & Large Format
Retractable Banners
A retractable banner is a portable display with a printed graphic that rolls into a protective base. Pull the graphic upward, secure it to a support pole, and you have a tall branded sign for trade shows, lobbies, events, showrooms, or presentations.
A retractable banner earns its place where people pause, arrive, browse, or gather. It gives a brand one tall, self-contained message, then folds back into its own base between uses, which makes a consistent presence easier to maintain across recurring appearances.
Product-specific details such as sizes, materials, hardware, and turnaround are set by the current store configuration. Confirm those choices before preparing artwork.
Where a retractable banner works
Trade-show booth
Create a tall focal point beside a staffed area so visitors can identify who they are speaking with before they arrive at the table.
Reception or lobby
Introduce a space at arrival with one recognizable message that orients visitors without adding permanent signage.
Registration point
Support a clear event moment where people line up, check in, or look for direction.
Presentation space
Add a portable visual reference beside a speaker, panel, or workshop without competing for the audience's attention.
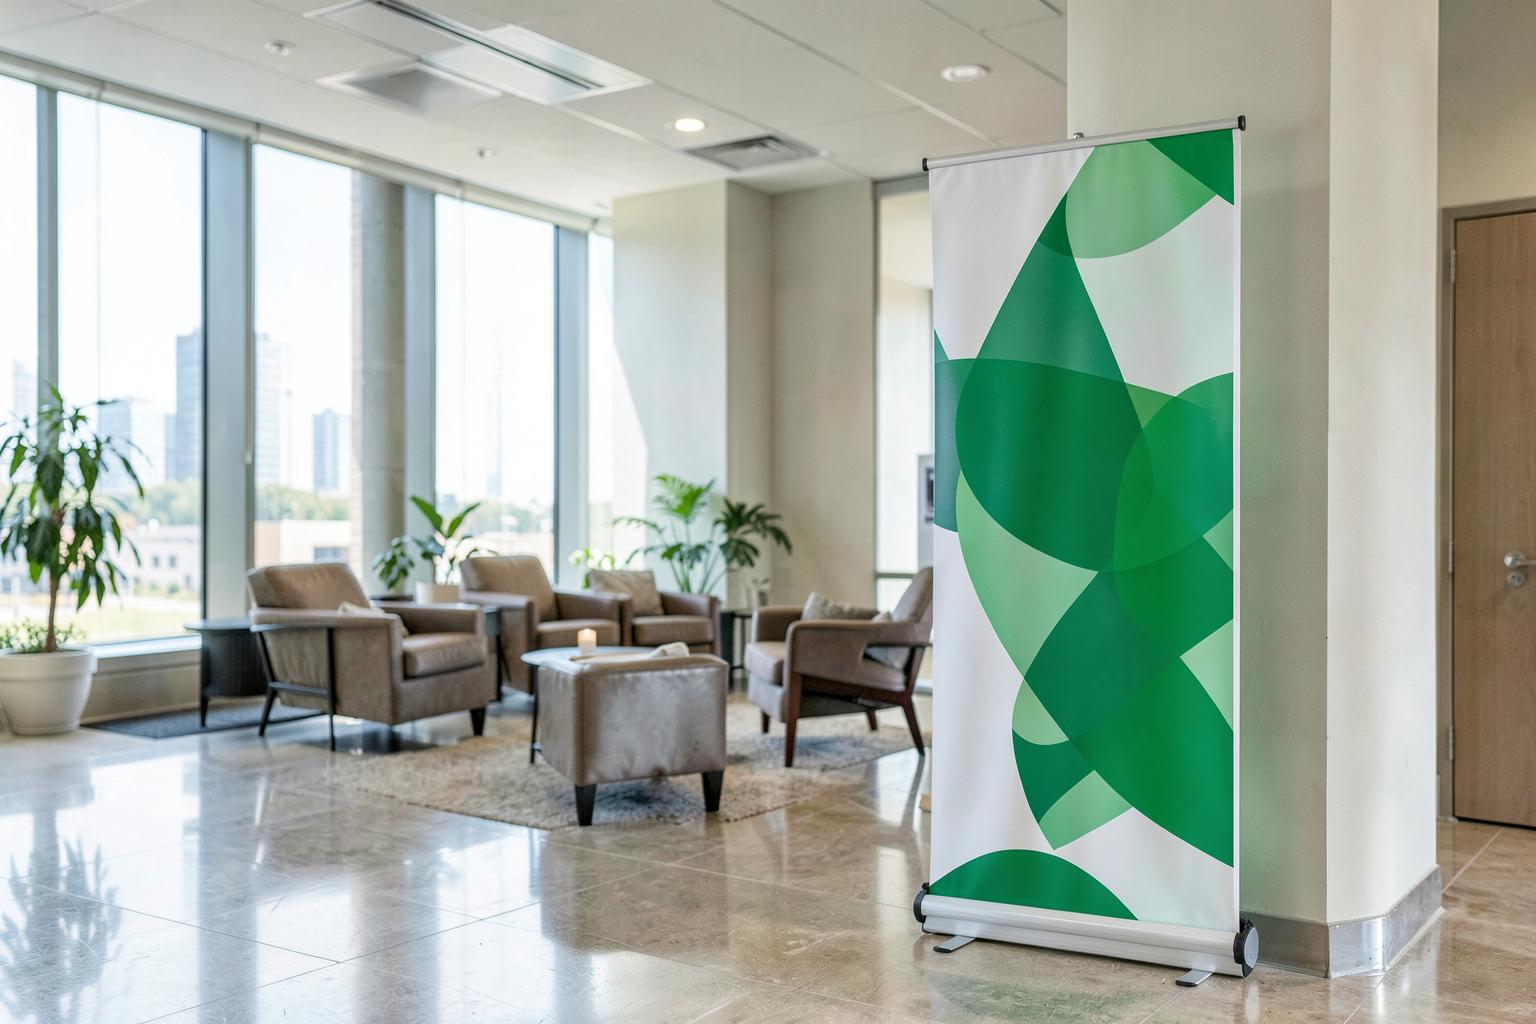
Make the message work at a glance
Start with traffic direction, viewing distance, and floor space rather than width alone. A banner set against a booth wall or beside a registration table is read from one side; a banner in a corridor or open lobby is read from several. Where each face can be seen matters more than how much content fits.
Keep the hierarchy simple. Put the brand near the top of the visible area, state one benefit in the middle, and reserve the lower area for a URL, phone number, location, or QR code. A QR code needs clear space and enough size to scan from the expected distance, so avoid placing it over a busy image.
Templates and safe areas
The visible area is not the same as the file area. Part of the top may attach to a hanger and part of the bottom may stay inside the cassette, so logos, faces, small type, and contact details belong away from both ends. Backgrounds should extend through the required bleed so no unprinted edge appears after finishing.
Lighting and placement
Glossy surfaces can reflect spotlights, while matte surfaces often read better under strong overhead light. Near windows, check how the material handles backlighting. If the current configuration offers a choice of graphic surface or base, match it to the room instead of assuming a specific material, face count, or hardware feature is included.
Treat setup and storage as part of the experience
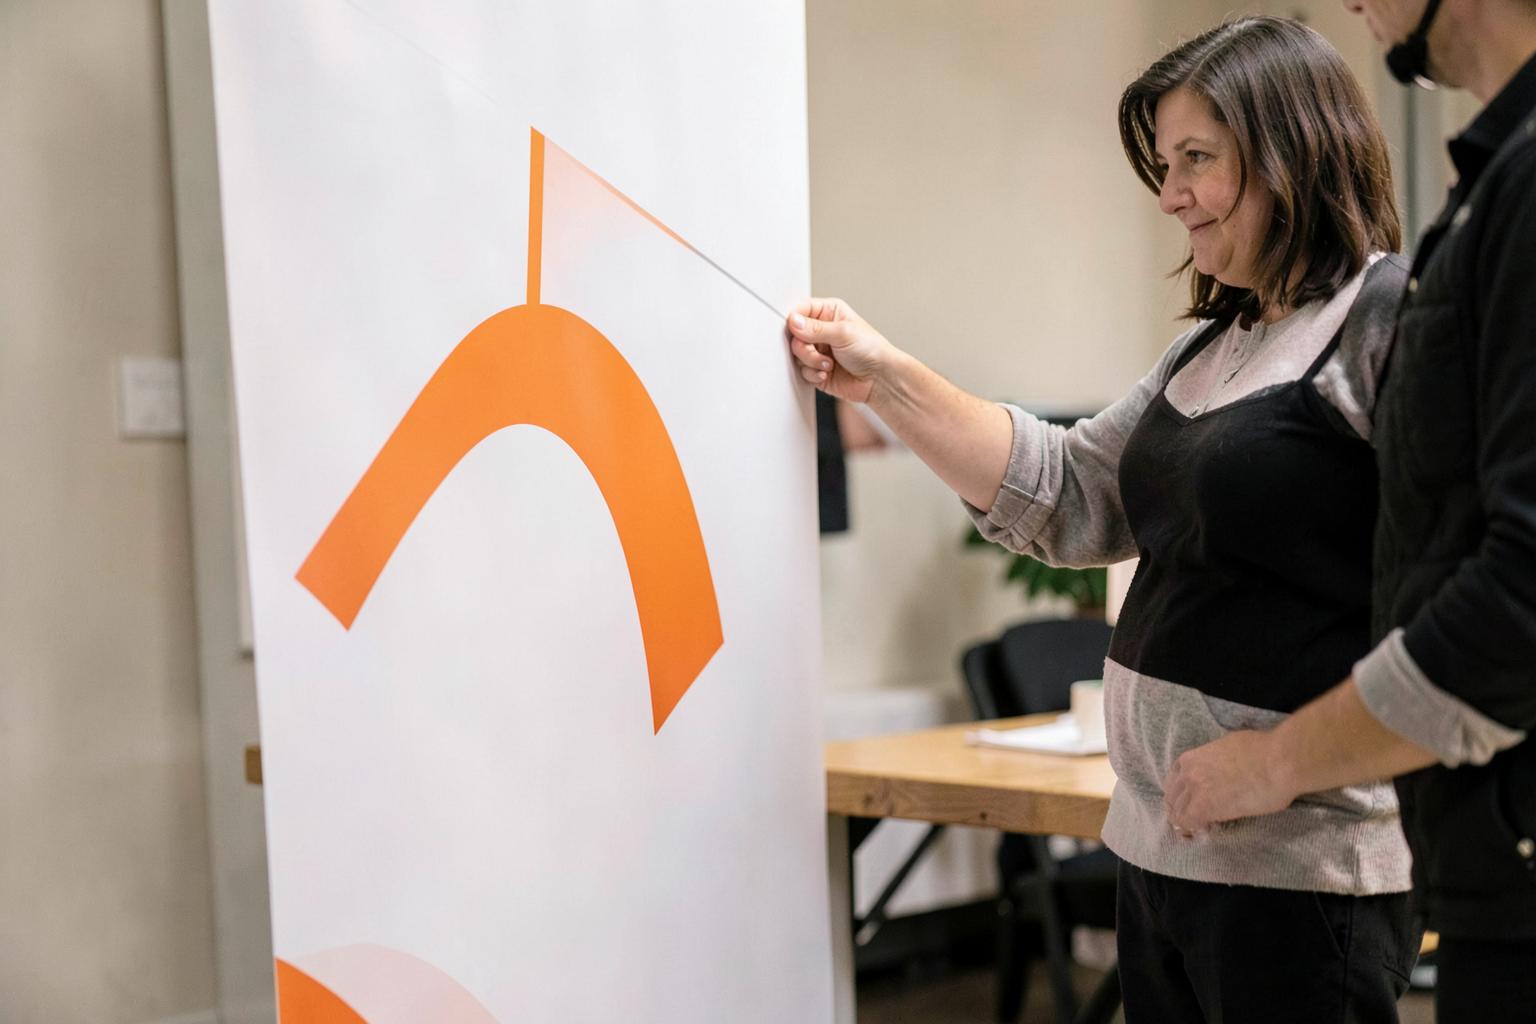

Raising the display
Set up on a flat, stable surface. Assemble the pole fully, seat it in the base, and position any feet or stabilizers as intended. Attach the top rail or hanger first if the hardware requires it, then draw the graphic upward slowly and evenly, keeping it aligned with the pole. Never yank the graphic, twist the cassette, or force a connector that does not seat naturally.
Controlled retraction
To take the display down, support the graphic while disconnecting the top, then let it retract under control rather than releasing it to snap down. Guide the edges so they do not fold or scrape against the housing.
Cleaning and inspection
Wipe dust or fingerprints with a soft, slightly damp cloth and let the surface dry before storage. Avoid abrasive cleaners, solvents, tape on the printed face, staples, and sharp objects near the graphic. Before each event, inspect the base, pole, top attachment, edge alignment, and graphic surface; a short check can prevent a leaning display or a damaged roller.
Transport and storage
Store the unit in its case in a cool, dry location. Do not place heavy objects on the case or leave the display in a hot vehicle for long periods. Suitability for a given venue depends on the conditions there, so treat these as sensible handling habits rather than a guarantee of performance.
Which setting are you designing for?
This guide is general buyer orientation. Check the current product choices and your venue conditions before treating any format, face count, dimension, or material as available.
- Viewers approach from one direction, or the back will face a wall
- A single-view setup is usually enough. Confirm in the current product configuration whether a single-sided graphic is among the available choices for the size you need.
- Traffic flows past both sides of the display
- A two-direction setting asks for two readable faces. Plan both messages together, and confirm with the production team whether a double-sided build is supported for your selection.
- You need broad visual coverage across a wall or photo area
- A single vertical banner may be too narrow. Consider a wide backdrop format instead, and check what is currently offered before planning artwork.
- The message sits on a counter or registration table
- A floor stand may not fit the footprint. A countertop display sits lower in the sightline; verify availability and dimensions before designing.
- The placement is outdoors or exposed to moving air
- Treat a standard retractable system as an indoor display. Ask about an outdoor-specific format and follow the venue's securing requirements.
Retractable banner or another display?
The right format depends on whether the priority is portability, coverage, reconfigurability, or outdoor performance. The table below is general guidance, not a statement of inventory, included hardware, or performance.
| Display type | Best fit | Main advantage | Main limitation |
|---|---|---|---|
| Retractable banner | Repeated indoor events, entrances, booths, and presentations | Packs into its base and sets up quickly | Graphic area is constrained by the cassette and supported height |
| Step-and-repeat or fabric backdrop | Photo areas, media walls, and wide branded backgrounds | Creates broad visual coverage across a wall or frame | Requires more floor space and a separate frame or support system |
| Tabletop display | Registration tables, counters, and compact information points | Fits where a floor stand cannot | Less visible from a distance and lower in the viewer's sightline |
| Rigid panel sign | Short-term mounted messaging or a firm directional panel | Holds a crisp, flat shape without a roller | Less compact and generally less convenient to transport |
| Outdoor flag or wind-rated sign | Open-air events and locations exposed to moving air | Designed around outdoor movement and visibility | Shape and message presentation differ from a vertical indoor banner |
Artwork and setup preflight
Work through these before sending artwork to production or packing for an event.
Venue and conditions
- The display is intended for the actual venue and the expected indoor or outdoor conditions.
- A flat, stable setup surface and a clean, dry storage location are available on site.
- Lighting, glare, and nearby windows have been considered when choosing the graphic surface.
Placement and footprint
- The width, supported height, and viewing direction suit the placement.
- The floor footprint does not block a doorway, aisle, accessible route, fire equipment, or a speaker's sightline.
- The display stands where people naturally slow down rather than where they are still moving quickly.
Template and safe zones
- Artwork follows the exact template supplied for the selected system, including bleed.
- The top attachment zone and the bottom cassette zone are treated as noncritical areas.
- Essential text, logos, faces, and QR codes stay inside the visible safe area.
Readable message
- The headline can be read at the intended viewing distance.
- Contrast is strong, lines are short, and no more than two type families are used.
- Any QR code is large enough to scan from the expected distance and has clear space around it.
File and proof
- The file uses high-resolution imagery and an accepted print-ready production format.
- Vector logos and type are preserved, with fonts embedded or converted as required.
- A proof has been checked at actual proportion for spelling, URLs, phone numbers, contrast, and scanability.
Handling and storage
- The base, pole, top attachment, stabilizers, and carrying case are packed before departure.
- Everyone setting up knows to raise and retract the graphic slowly and under control.
- The unit will be stored in its case, in a cool dry place, with nothing heavy on top.
Common mistakes include designing into the base area, overloading copy, using low-resolution images, never testing a QR code, and choosing weak contrast. On site, the usual damage comes from rushing setup, retracting without guidance, forcing an uneven pole, or placing an indoor unit outdoors.
Frequently asked questions
What is a retractable banner used for?
It is used for portable indoor branding, event messaging, wayfinding, product introductions, registration areas, presentations, retail promotions, and community outreach. It combines tall visibility with compact storage.
Is a retractable banner suitable for outdoor use?
Most retractable systems are best treated as indoor displays. Wind can tip the base or stress the graphic and pole, while moisture and prolonged sun can affect materials. If the placement is outdoors, ask about a system built for outdoor conditions rather than assuming an indoor stand will hold up.
Should I choose single-sided or double-sided?
Choose single-sided when viewers mostly approach from one direction or the back will face a wall. Choose double-sided when traffic flows on both sides and each face can be seen clearly. Confirm which builds the current configuration offers, and plan the two messages together so they do not conflict.
What belongs at the top of the banner?
Place the brand name, logo, or identifying headline near the top of the visible area, kept below the template's top attachment zone. The first seconds should tell a viewer who is speaking and what the message is.
How much text should a retractable banner contain?
Use only the words needed to identify the offer, explain the main benefit, and direct the next action. A short headline, a brief supporting line, and one contact method usually work better than a dense list of services.
Why do retractable templates include covered areas?
The graphic has to attach to the hardware and roll into the base. Those attachment and insertion zones may not be visible after installation, so essential content must stay inside the marked viewable or safe area.
What file format should I submit?
Use the accepted print-ready format shown for the selected product. Preserve vector logos and type, and verify that fonts and images are embedded before sending the file.
Can I replace the graphic later?
Some systems accept replacement graphics, but dimensions, attachment method, cassette compatibility, and take-up length have to match the original hardware. Check the specifications for your stand before fitting a graphic made for another one.
How do I clean a retractable banner?
Use a soft cloth that is only slightly damp and wipe gently. Avoid abrasive products and solvents. Let the graphic dry fully before retracting it, and never roll a damp or dirty surface into the base for storage.
How should I transport and store it?
Retract the graphic slowly, secure the pole and accessories, and use a protective case. Carry the case rather than dragging it, keep heavy items off it, and store the unit in a cool, dry place away from direct heat and moisture.